Contents
How Does Your Drum Sound?
You know what a drum should sound like.
But you also know when a drum does not sound right. You may have one.
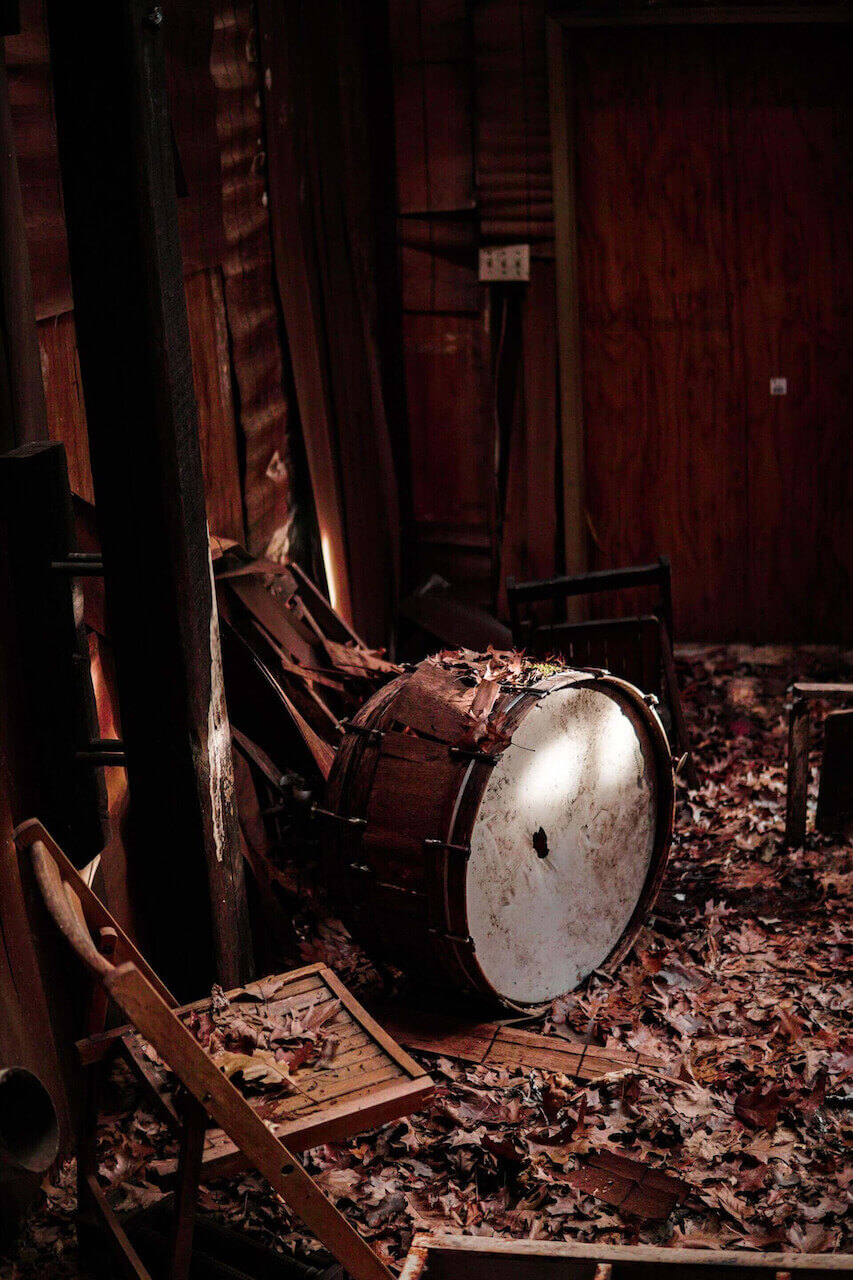
It is still pretty and might even be in mint condition, but it does not sound like it should. Maybe there is a sad tambourine that sits at the bottom of your percussion box and something makes your drum sound nothing like when you first bought it. Or a big marching drum with a floppy skin that now serves merely as decoration. Or a small colourful tom that has seen better days. You just don’t know what to do to make them sound like they used to.
What you can do to make your drum sound good again
There are some things you can do to make your drum sound good again.
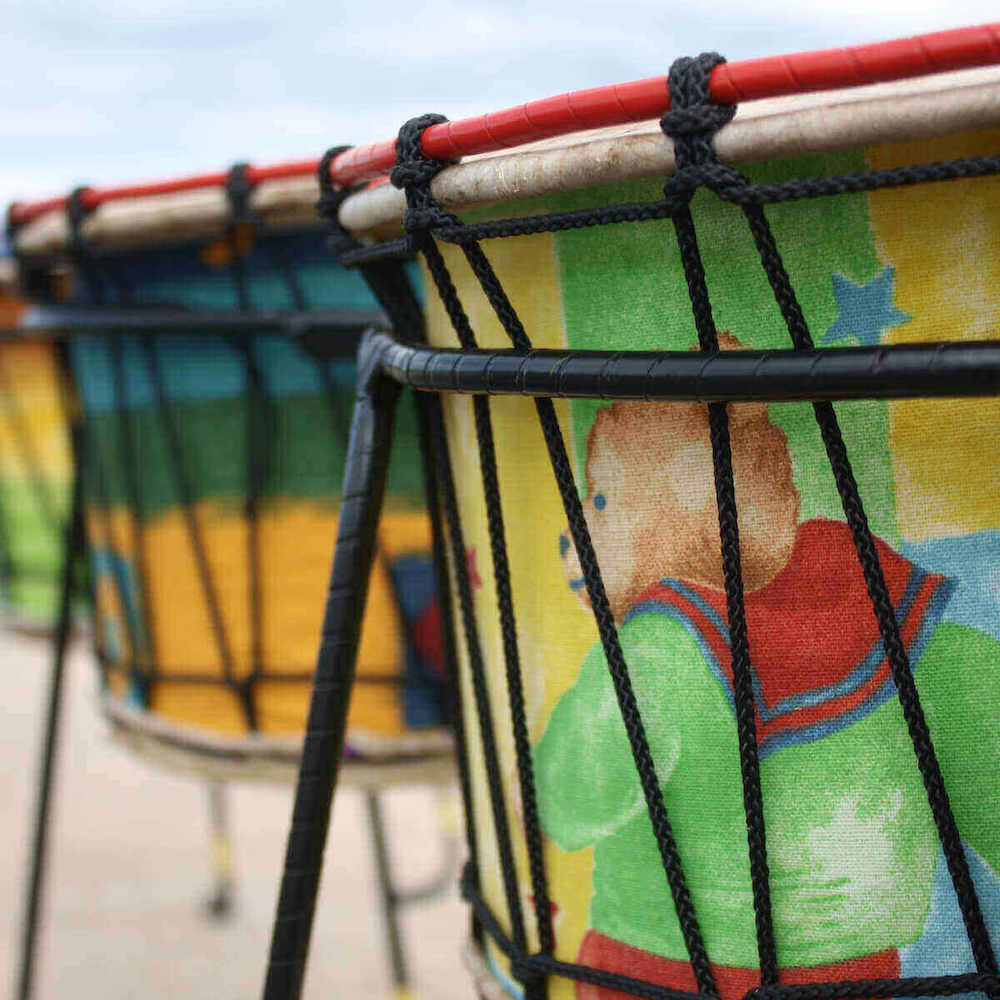
There are various ways of attaching a membrane to a drum shell. Sometimes the skin is held down with a bolting system, sometimes macrame work is used, sometimes it is even directly glued onto the shell of the drum.
For a drum to sound bright and crisp, you need to tension its membrane somehow.
Some tensioning systems are efficient and easy to use, but some can be awkward and sometimes, there is simply no system that allows you to tension the skin on the drum shell.
If you have no way of tightening your drum using what is already there, there are two things you can try:
Review where you store your drums.
- The natural membrane of any drum is affected by the ambient air. The more humidity, the duller the sound. To sound good, your drum first needs to be stored in a dry warm place. Dry air might perhaps be a foreign concept for Hokitika preschool centres but most schools have to deal with cool moist air inside on winter mornings. Directly above a radiator or on a high shelf where warm air rises is a great place for storing your drums.

Prepare your drums
If you want your drums to sound right, you have to prepare them before your music session.
- Placing your drum in front of an oil or fan heater, close to the heat-pump or in direct sunlight is a sure way of tightening its skin. The hide responds organically to its environment and this knowledge could easily be integrated in your teaching. Children will quickly realise the impact of the heat on the sound of the tambourine if “preparing the drums” is something you naturally do as part of the music session. It could be a special task delegated to one child before music or be used as a experiment to observe.
The first time I saw that technique used was many years ago when holidaying in Senegal. I visited a local drum-maker. His house had an “inside backyard” with an open fire right in the centre. I still remember how he placed his drums in a large circle around the fire with their skins very close to the flame. He used to do that anytime he needed to use or display his drums.
You don’t need to light a fire in the playground, just turn that heater on!
Other ways to make your drums sound good
1 – Tambourines
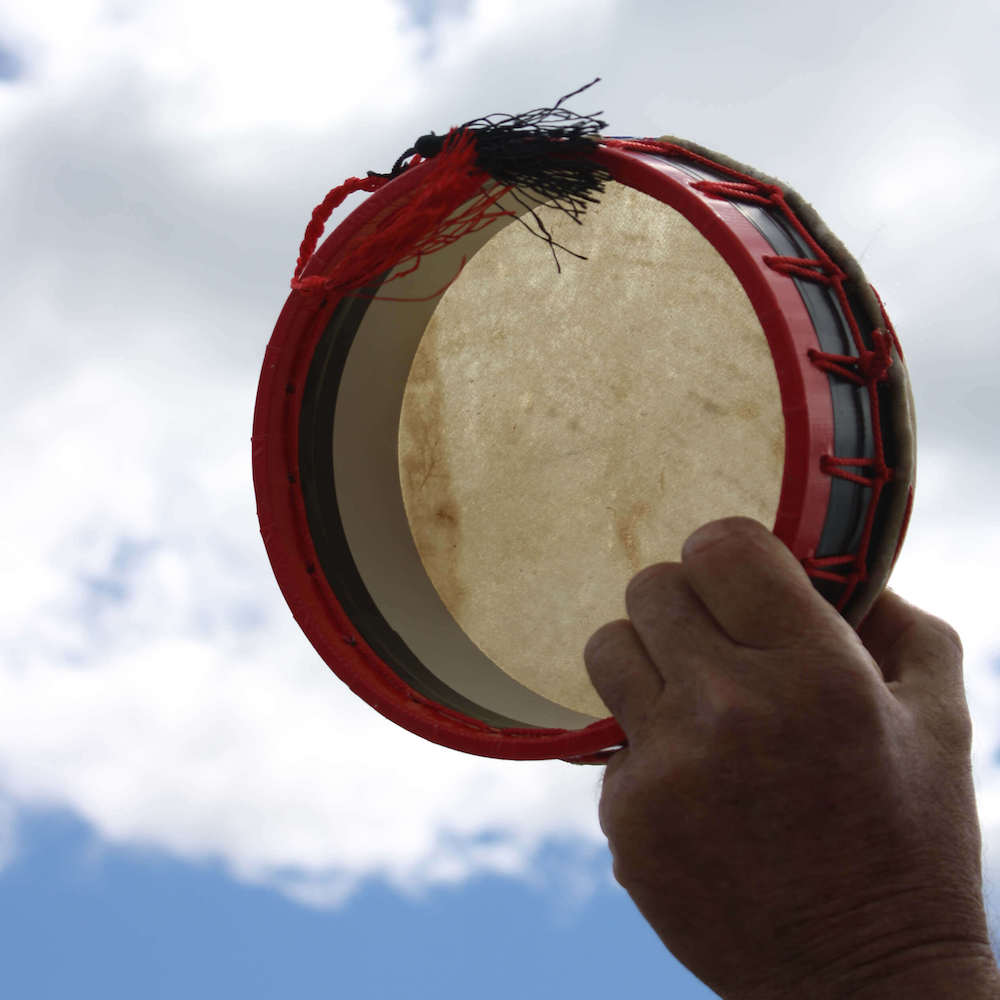
The role of tambourines is to add a crisp and sharp touch to the music. But they often end up on the carpeted ground. Doing so suppresses most of the sound a tambourine is able to make. It also encourages the children to strike it more vigorously to produce sound, and thus shorten the life of the instrument.
Tambourines are very ancient instruments with a rich folk music history. They were originally used in warfare and religious contexts, and evolved to become an essential part of folk entertainment. They entered the Western orchestra in the mid-18th century with Mozart being one of the first composers to be interested in the instrument. Tambourines are present in many cultures in Europe, China, India, Peru, Greenland, the Caucasus and Central Asia. It is used with brio and a high level of virtuosity for Samba music in the Rio carnival by groups of skilled street dancers. It is always a handheld drum. It can provide – despite its small size – a bright resonance to a musical activity.
The best way for your tambourine to sound right and to make it resonate fully is to grasp the frame of the drum without touching the membrane. Strike it with your hand, or with a light stick for a sharper sound. More advanced activities can also alternate close and open sounds. To deaden the sound, simply press the skin from the back with your fingers when holding the tambourine. Let go of the membrane for an open sound.
2 – Sticks
It looks easy. The drummer strikes the drum head with his stick. The drum resonates. Not so obvious is the manner in which he holds the stick at the moment it hits the drum. There’s a “micro-release”, allowing the stick a brief moment of free fall. Not too much so that he loses control of it, but just enough to let it have as light a touch as possible. This gives the best sound.
Almost immediately, the drummer grips the stick again, raising it up, then recommencing the new trajectory towards the drum head. The sticks spring away from the drum under its own energy. Children don’t usually do it like this at first. They grip the stick firmly, clench it at the moment of contact, which dulls the resulting sound. By trial and error they learn what the optimal technique is to make it sound right. This is a fine hand-eye co-ordination skill.
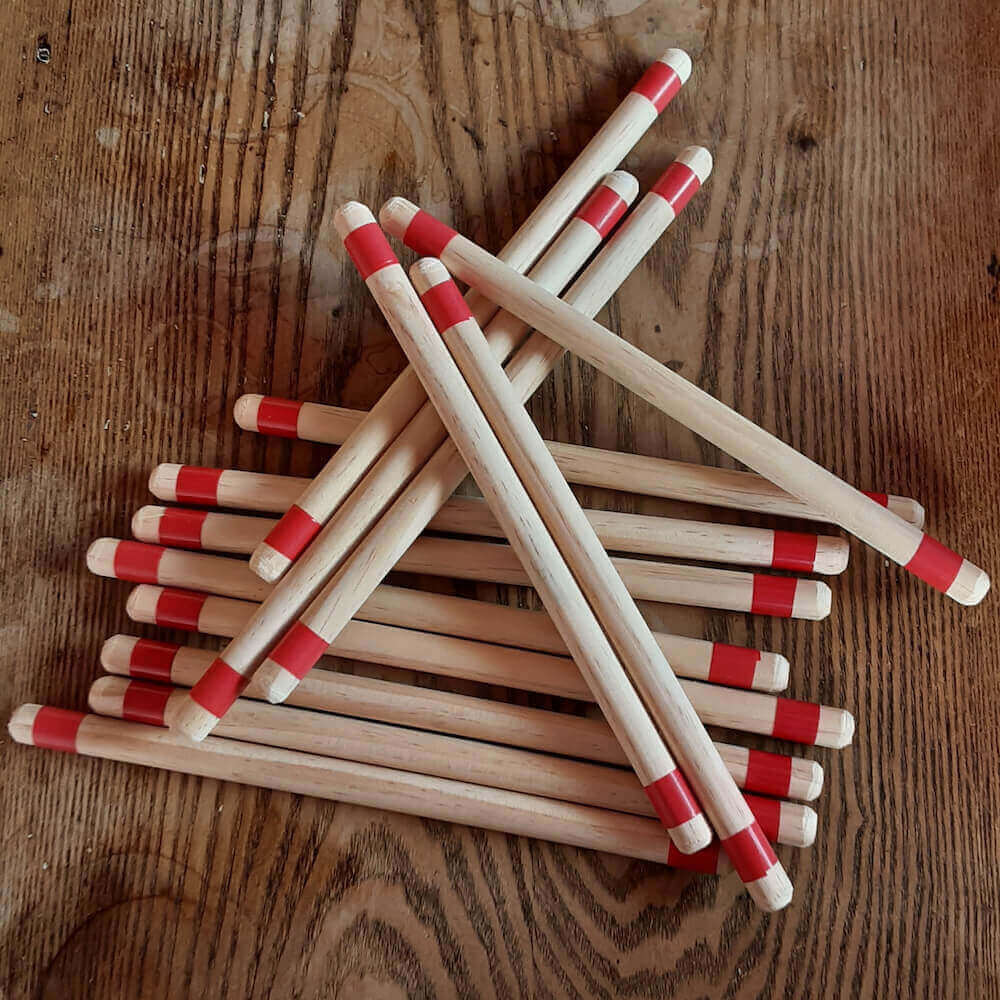
If we are talking about young children doing the learning, lots of damage can occur during this “clenching” phase. That is why we make sticks that are very light, and only 30cm long, as opposed to 40cm for adult sticks.
3 – Toms
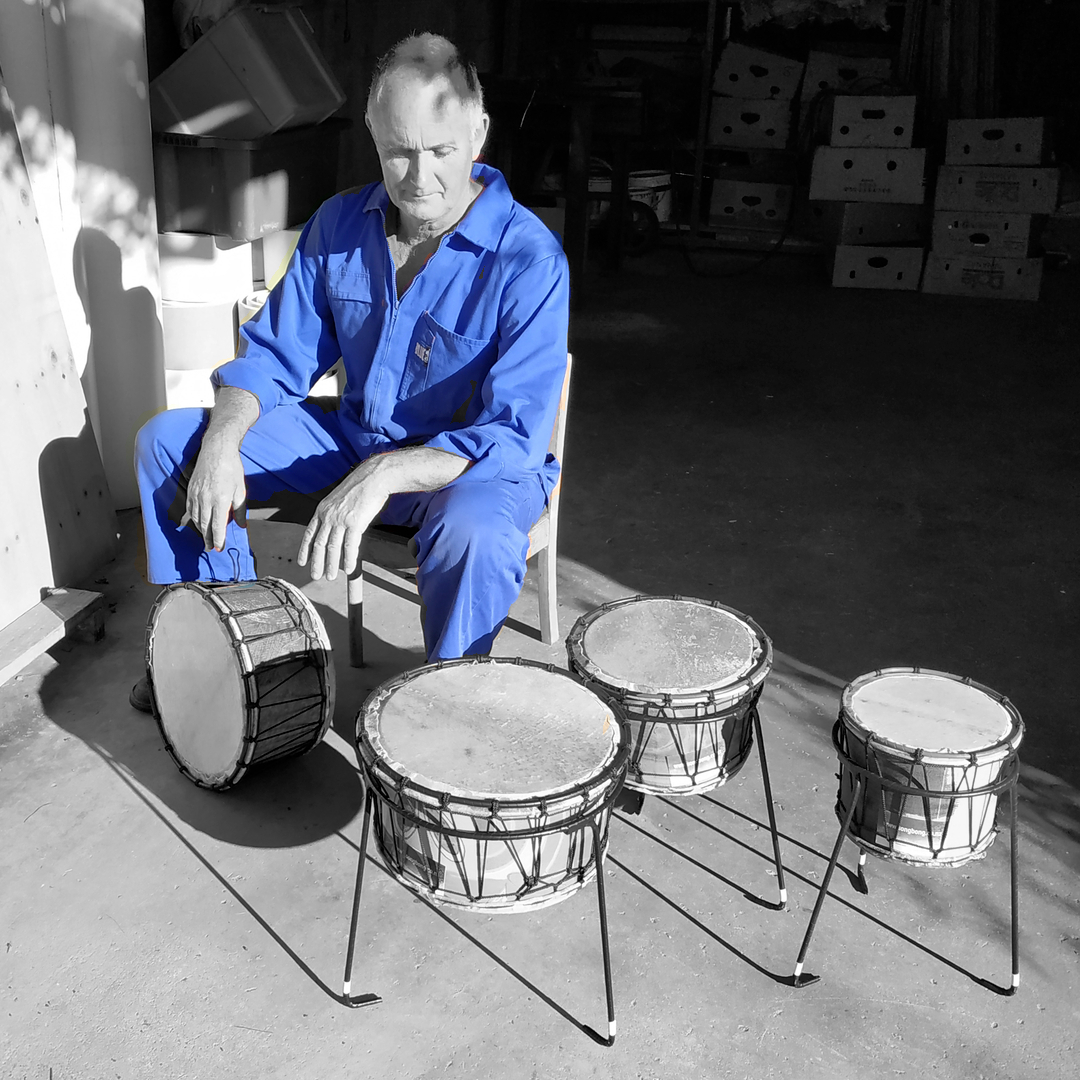
Similar to tambourines, toms work better if they are off the ground. This is partly to allow the child to operate in their preferred posture: standing.
It also allows the bottom (non-played) head of the drum to vibrate freely, optimising the overall sound. Here we avoid the problem of children striking harder than they should, vainly trying to produce a better sound, just like when tambourines are lying on the carpet.
It is important to learn how to tune your drum as it can radically change its sound. Read the post about it : How to tune your drum if you want to know more about the diamond weave, the most common tuning technique for drums mounted with macrame systems.
We should not underestimate the importance of drums being ergonomic for young children. If it is not easy to produce a sound, they will look for either another drum-head surface, or another activity.

It doesn’t matter how attractive-looking your drums are, if they are not easy to play, they are not serving their purpose. Learning the proper playing position of any instrument, and the resulting change to its sound, understanding the impact of air conditions on natural materials is part of musical education.
- Be mindful of the storage conditions of your drums
- Prepare your drums before playing
- Tambourines should be hand-held
- Sticks need to spring back (going away from the drum, not going in)
- Toms have to be off the ground to work effectively

